What is Opening Balances?
Introduction
When a business transitions to Zoho Books-whether from another accounting system or from manual bookkeeping-it’s essential to bring in the full picture of the company’s finances. This process starts with accurately entering opening balances.
Opening balances are the initial values carried over into your Zoho Books account. These include the balances of all your assets, liabilities, income, and expenses as of your migration date. They serve as the foundation for your future transactions and financial reports in Zoho Books.
Points to Note Before Entering Your Balances:
1.Add All Bank Accounts and Credit Cards First
- Before entering balances, make sure all your financial accounts are added to Zoho Books.
- Only added accounts will be visible in the opening balances section.
2. Add Items with Stock Details
- Ensure inventory items are imported with correct opening stock and value.
- Zoho Books allows you to import this data in bulk via Excel or CSV.
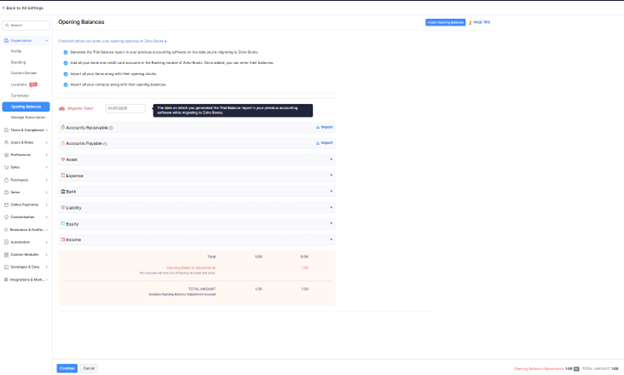
3.Generate a Trial Balance for Accuracy
- Run a Trial Balance report from your previous system on the migration date.
- This ensures that no account is overlooked and helps keep the opening balances balanced.
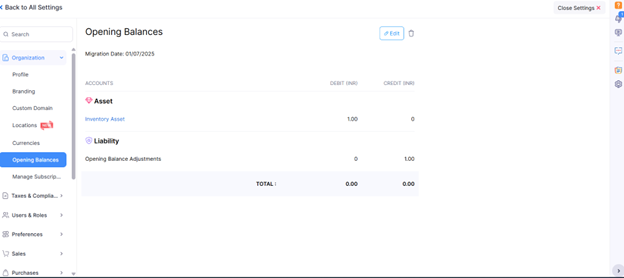
Entering Opening Balances
- Navigate to Settings
- Click the gear icon in the top right corner of your Zoho Books dashboard.
- Select Opening Balances
- Under the Organization section, click Opening Balances.
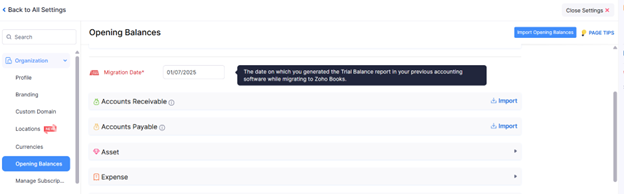
- Choose the Opening Balance Date
- This should be the date you started using Zoho Books.
- For migrating businesses, use the cutover date from your old system.
- For new businesses, use your business start date.
- Enter Account Balances
- You will see a list of predefined accounts grouped under:
- Accounts Receivables & Payables
- Assets
- Expenses
- Income
- Bank Accounts
- Liabilities
- Equity
- Enter the corresponding balances for each relevant account.
- Save Your Changes
- After entering all balances, review for accuracy and click Save.
Entering Accounts Receivable and Accounts Payable Balances
1: Import Balances for Existing Customers/Vendors
If you’ve already added customers or vendors:
- Go to Settings > Opening Balances.
- Enter the Opening Balance Date.
- Under Accounts Receivable or Accounts Payable, click Import.
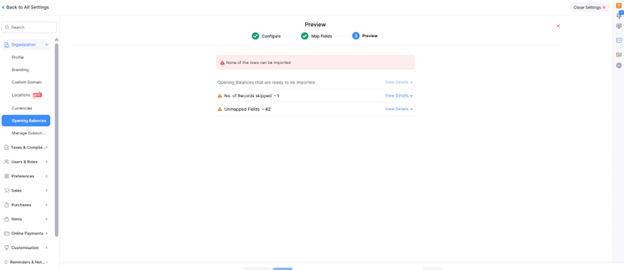
4. Upload your file (CSV, TSV, or XLS). You can download a sample file from Zoho Books.

5. Map the fields with Zoho Books columns.
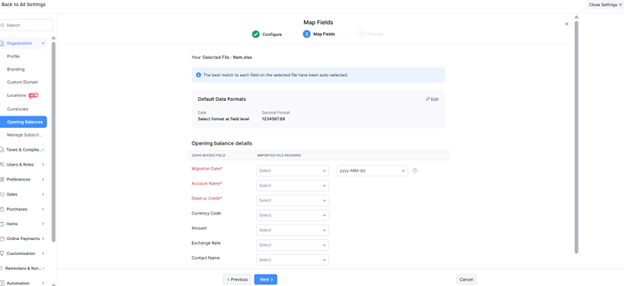
6. Click Next, then Import to complete.
All balances will be linked to the respective customers/vendors automatically.
2: Import Customers/Vendors with Balances
If you’re importing customers or vendors for the first time:
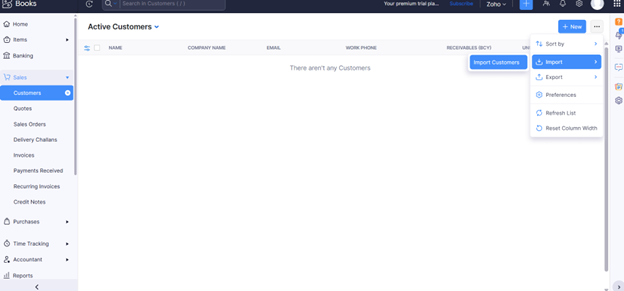
- Go to Sales > Customers (or Purchases > Vendors).
- Click the More icon in the top-right and select Import Customers or Import Vendors.
3. Upload your file with both contact details and balances.
4. Map the fields and choose decimal preferences if required.
5. Click Next and then Import.
This method is efficient as it imports contacts and balances together.
3: Manually Enter Individual Balances
For a New Customer/Vendor:
- Go to Sales > Customers or Purchases > Vendors.
- Click + New to create a new contact.
- Enter contact details.
- In the Other Details section, input the Opening Balance.
- Click Save.
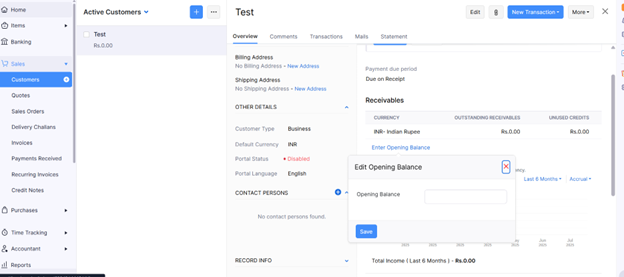
For an Existing Customer/Vendor:
- Go to Sales > Customers or Purchases > Vendors.
- Select a contact and go to the Receivables (Customer) or Payables (Vendor) section.
- Click Enter Opening Balance.
- Enter or update the amount, then click Save.
Insights:
- Receivables = Invoice amount + opening balance
- Payables = Bill amount + opening balance
- Payments made reduce the outstanding opening balance
Creating New Accounts
In case your business deals with accounts other than the default accounts, you can create new accounts. To create a new account
- Go to Settings (gear icon at the top-right).
- Select Opening Balances under the Organization section.
- Click Edit in the top-right corner of the Opening Balances page.
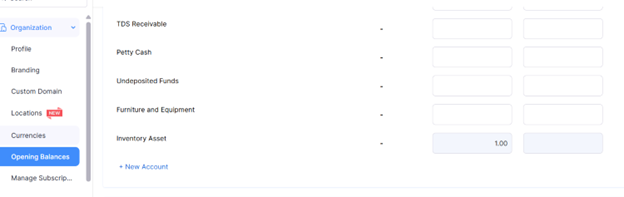
- Choose the relevant account category (e.g., Assets, Expenses, Equity).
- In the dropdown, click + New Account.
| Field | Description |
|---|---|
| Account Name | The name you want to assign to the account (e.g., “Petty Cash” or “Marketing Expenses”). |
| Account Type | Select the appropriate classification (Assets, Liabilities, Income, Expenses, Equity, etc.). |
| Description | (Optional) Add a short note to describe the purpose of the account. |
| Account Code | (Optional) Assign a unique code to help with tracking and identification. |
| Add to Watchlist | Check this box if you want this account to appear as a widget on your dashboard for quick monitoring. |
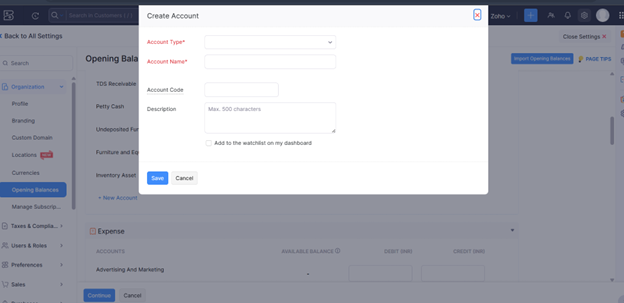
- Mark the box near Add to the watchlist on my dashboard to display the account and its balances as a widget in your dashboard.
- Enter a Description if necessary and click Save.
