How Caledar booking works in Zoho CRM
Introduction
Struggling to coordinate meeting times with your customers? The Calendar Booking feature in Zoho CRM makes scheduling calls and meetings a breeze. Instead of lengthy back-and-forth emails, customers can view your availability and book instantly.
Whether you’re offering a product demo or a support session, Calendar Booking helps streamline your process, reduce delays, and deliver a better customer experience.
Step-by-step Instructions
1. What Is Calendar Booking?
Calendar Booking lets your customers schedule a meeting or call directly in your calendar. Once it’s set up, they’ll see available time slots and can choose what suits them best. No need for emails or confirmation calls.
You can set up:
- User Booking - One-to-one meetings with individual team members.
- Team Booking - Share availability across a group for general enquiries or demos
2. Set Up Calendar Booking in Zoho CRM
Step 1: Access Calendar Booking
- Log in to Zoho CRM.
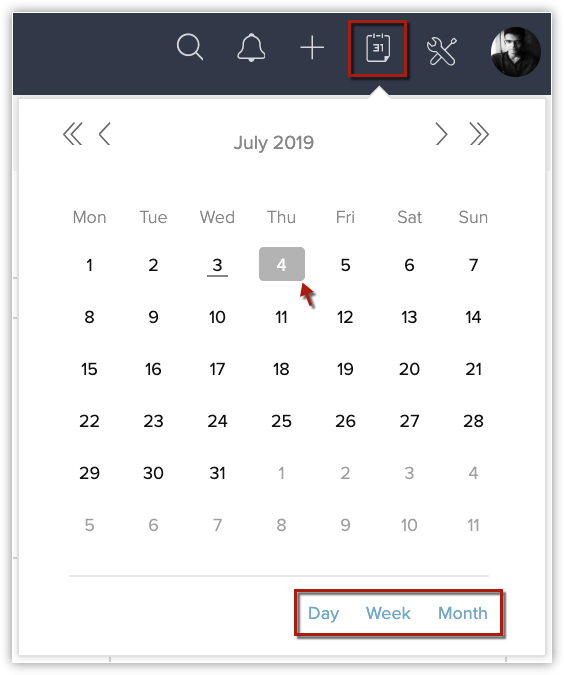
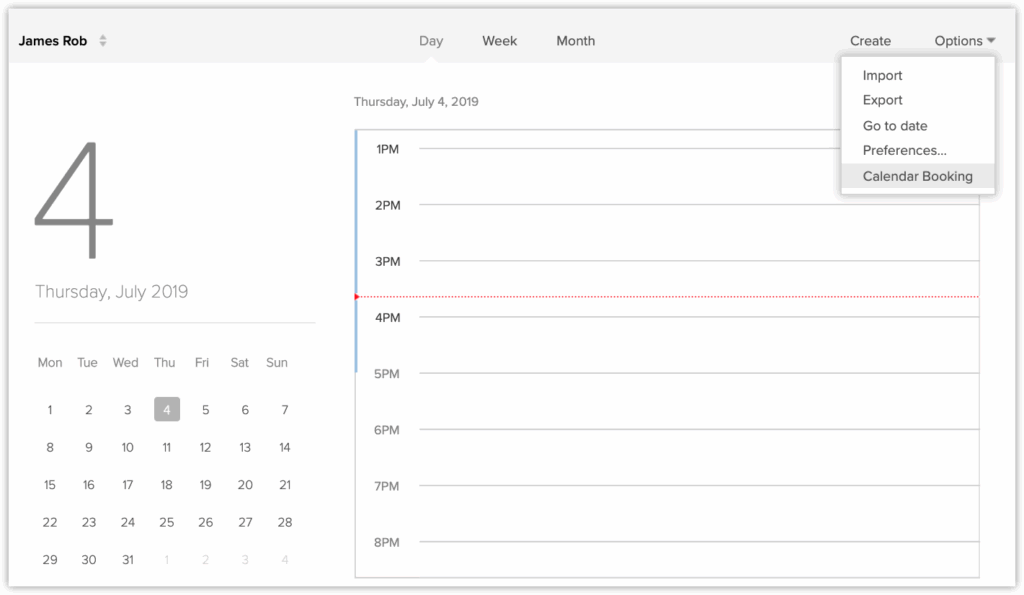
- Go to the Calendar module.
- Select a date or click Day / Week / Month to view.
- Click Options > Calendar Booking.
- Or go to Setup > General > Calendar Booking.
Step 2: Create a New Booking
Click Create Calendar Booking and choose:
- Team Booking for a group
- User Booking for yourself
3. Configure Booking Settings
Calendar Info
- Calendar Name: e.g., Product Demo
- Description: Short info about the meeting
- Calendar Type: Choose Meeting or Call
- Duration: Set a default (e.g., 30 mins) or enter a custom time
Questions for Participants
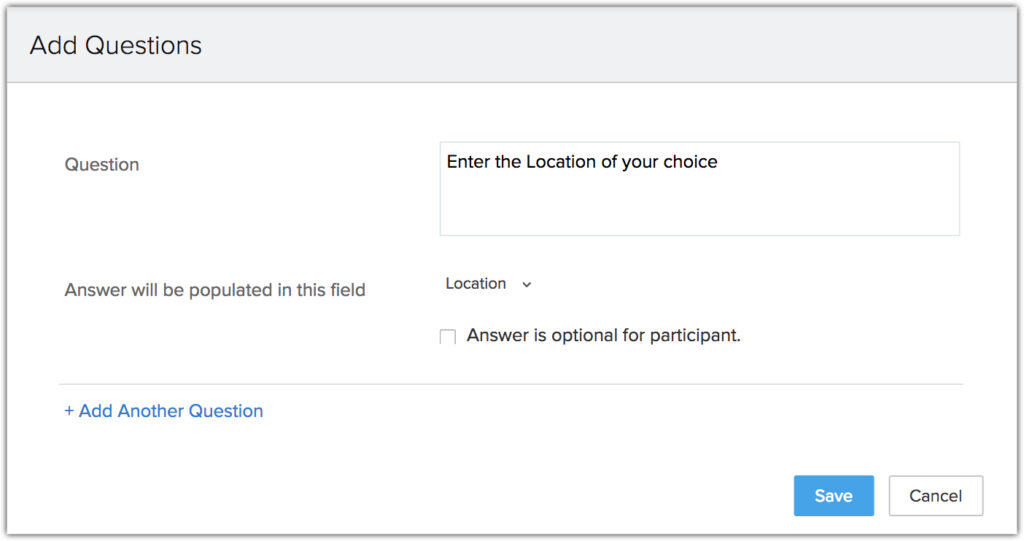
- Name and Email are required (default)
- Click + Add Questions to request additional info
- Link responses to CRM fields
Host Information (for Team Booking)
- Assign meetings by: Users (round robin)
- Groups : Territories (if enabled)
Advanced Settings
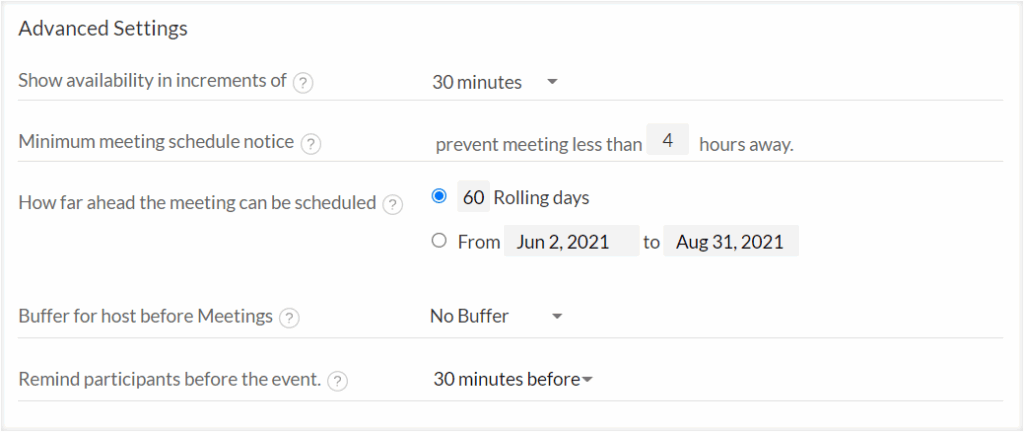
- Availability increments (e.g., every 15 mins)
- Minimum scheduling notice (e.g., 2 hours in advance)
- Booking window (how far in advance someone can book)
- Max meetings per slot/day
- Buffer time before meetings
- Email reminders for participants
Click Save. Your booking link is now live.
4. Share Your Booking Link
Choose how you want to share the calendar:
Copy Link
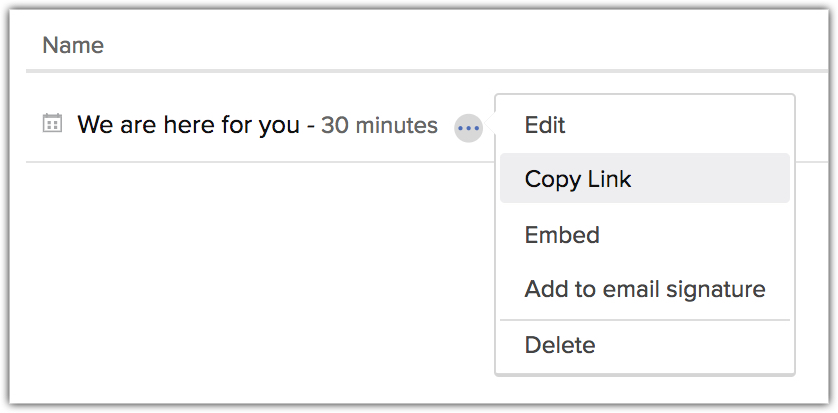
- Go to Calendar > Calendar Booking
- Click More > Copy Link next to your booking
Embed on Your Website
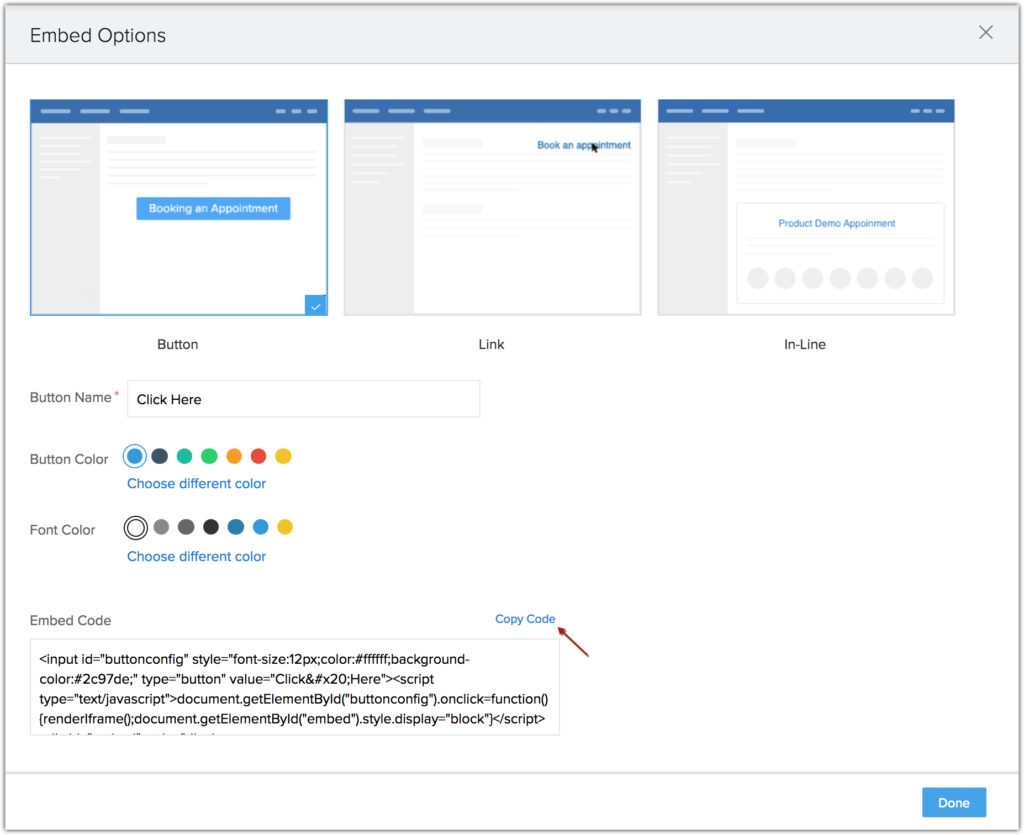
- Click More > Embed
- Choose how to display it:
- Button – Opens calendar in overlay
- Link – Hyperlinked text
- Inline – Embedded directly in the webpage
- Customise colours, text, and copy the HTML code
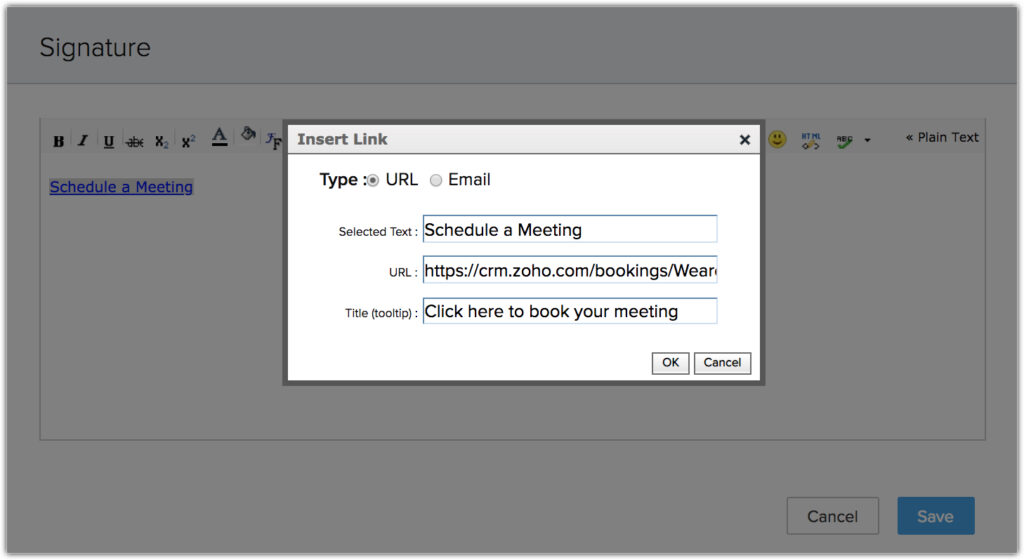
Add to Email Signature
- Click More > Add Email Signature
- Enter the display text and tooltip, then click OK
5. Manage Existing Bookings
Duplicate Bookings
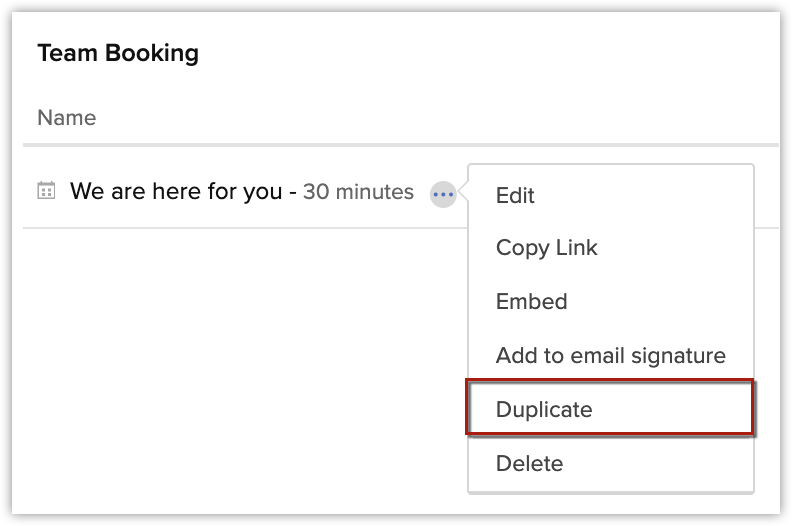
Click More > Duplicate to reuse a setup
Delete a Booking

- Click More > Delete next to the booking
- Confirm deletion
Deactivate a Booking

- Use the toggle to turn a booking on/off
- Green = active; Grey = inactive
Note: You can have up to 25 active Team Bookings and 3 active User Bookings.
6. What Customers See
Once live, your customers can:
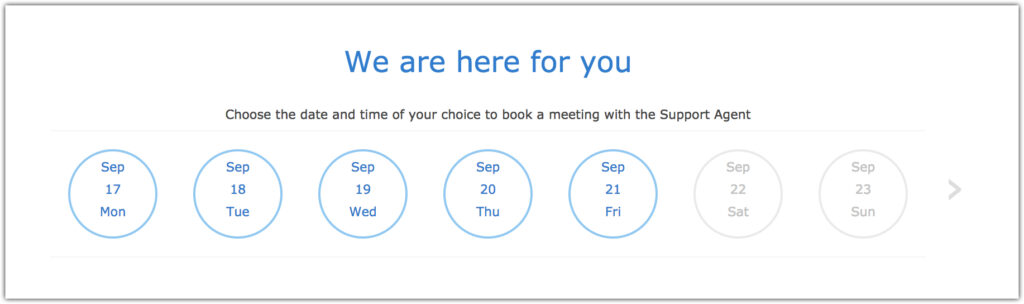
- Select a date and time
- Enter their name and contact details
- Click Save to book the slot
They’ll receive a confirmation email with options to:
- Reschedule – Takes them back to the booking calendar
- Cancel – Cancels the meeting in one click
Tips for Getting Started
- Use Team Bookings for demos or general queries
- Set a minimum notice time to avoid last-minute surprises
- Collect useful info up front with custom participant questions
- Embed calendar links in your website or support emails for easy access
- Keep your availability up to date in Zoho to avoid double bookings
