What is meant by extensions in Zoho People?
Introduction
An extension in Zoho People is a software add-on that enhances or customizes the application’s functionality. Built using technologies like HTML, CSS, JavaScript, and server-side logic via Zoho Sigma, extensions let you integrate third-party services and fulfill unique business requirements without starting from scratch.
Whether you’re creating internal tools or offering functionality to others via the Zoho Marketplace, extensions are a powerful way to expand Zoho People.
Step-by-Step Instructions:
Step 1: Access the Developer Console via Zoho Sigma
For Existing Zoho Users
- Go to Zoho Sigma and log in using your Zoho credentials.
For New Users
- Visit Zoho Sigma and create a workspace by entering your workspace name and details.
- Check your registered email for the confirmation link and complete your registration.
Once set up, you can access the Zoho Developer Console and begin building your extension.
Step 2: Plan Your Extension
Before development, outline your goals and plan the structure of your extension:
- What services will it connect with?
- What forms or data structures will it need?
Will you require automation, workflows, or third-party integrations?
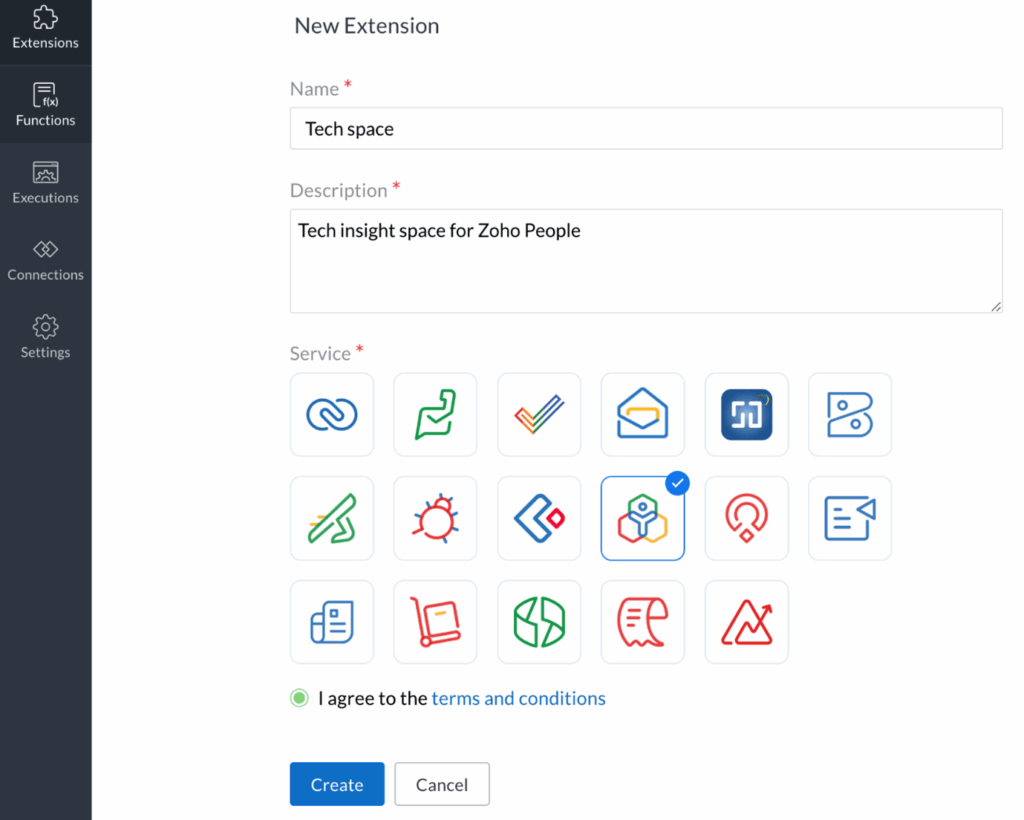
Step 3: Create a New Extension
- Go to Zoho Sigma.
- Click on the Extensions tab and then New Extension.
- Enter:
- Extension Name (a unique namespace will be generated automatically)
- Description
- Select Zoho People as the service.
- Agree to the terms and click Create.
The extension will be saved in Draft status.
Step 4: Set Up Your Extension
- From the Extensions list, click the Edit (pencil) icon on your draft extension.
- Perform the following configurations:
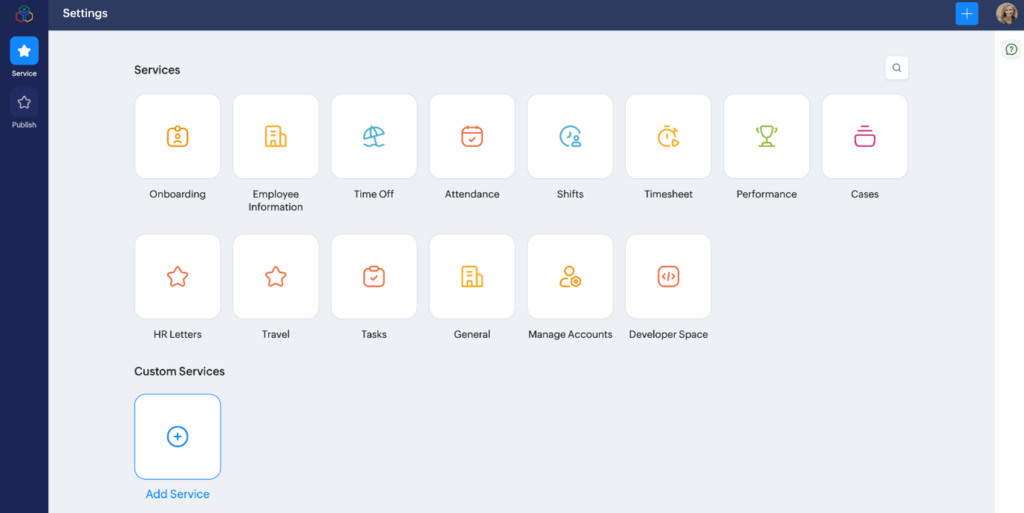
- Add a service: Choose an existing service or create a new one.
- Add forms: Edit existing forms or create new forms with required fields.
- Set up automation: Add workflows such as webhooks, tasks, email alerts, field updates, or Deluge custom functions.
- Add integrations: Use Connections to link third-party apps.
- Customize branding: Modify the extension name, description, and upload a logo under Publish > Edit.
Step 5: Publish the Extension
- After setting everything up, click Save.
- Go to Publish and click Publish again to confirm.
- A public or private install link will be generated.
- Use Share Privately to send the install link to specific email addresses.
- Recipients can install the extension by selecting the target portal and clicking Continue to Install.
- Once installed, admins can view it under Settings > Marketplace > Installed.
Step 6: Submit to Zoho Marketplace
To list your extension publicly in the Zoho Marketplace:
- Go to Zoho Sigma and open the Extensions tab.
- Hover over your extension and click Extension Details.
- Under the Version tab, click Submit to Marketplace next to the desired version.
- Provide:
- Company name
- App category
- Privacy policy URL and Terms of use URL
- Click Next, and under Prerequisites, choose the supported editions.
- Upload the extension’s:
- Icon
- Thumbnail
- Screenshots
- Add a Summary including:
- Tagline
- Description
- Key features
- Help links or videos
- Specify:
- Availability (global or restricted)
- Pricing details (free or paid, trial info, annual discounts)
- Add multiple pricing plans if needed
- Click Submit
The extension will undergo validation by the Zoho Marketplace team. Once approved, it will be publicly listed.
Tips
- Always test your extension in a sandbox before publishing.
- Use versioning to maintain and update your extension safely.
- Use Connections for seamless integration with third-party APIs.
- Share privately to selected admins if your extension is organization-specific.
